How to Avoid Early Cloud Security Mistakes
Microsoft Azure is growing, in both cloud services and enterprise adoption, with new capabilities added all the time. If you’re a seasoned Azure developer, you may realize how easy it is to fall victim to critical Azure cloud security failures in the beginning. However, if you’re new to Azure, you’ll want to understand the best path for securing your resources on both the management and client access side. Let’s take a closer look at:
- Azure Active Directory (AD)
- Role-based Access Control (RBAC)
- Network Security Group (NSG)
- Azure Storage
1. Perform Proper Permission Planning and Assign Roles
The foundation of your Azure resources is the Azure Active Directory (AD) tenant. Similar to the conventional Active Directory, it represents the service management of your identities like users, groups, and devices. Compared to an on-premises solution, however, it supports only a subset of features and is mainly intended for single sign-on (SSO) for your cloud applications, whether you are using Microsoft-based services or third-party providers.
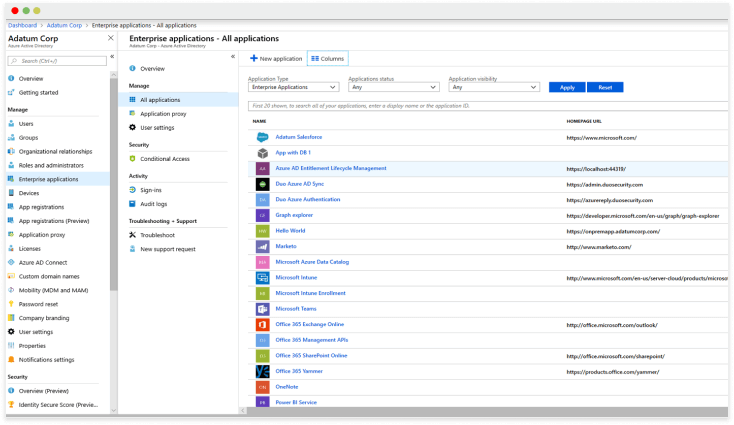
When you first create your Azure tenant, you will define a “.onmicrosoft.com” domain and, optionally, connect your custom domain to it. From there, you can create your identities directly in the cloud or sync them from on-premises and start using Azure AD as point for authentication. From a management point-of-view, you already have predefined AD roles that give you different type of permissions over your Azure AD identities.
Be sure to note that when you assign Azure AD roles to your users or groups, they will only apply to Azure AD related actions, and not to other resources like actual Azure services.
It is essential to plan your delegation over Azure AD properly, since assigning too much or too little permission may result in inappropriate Identity Access Management (IAM) and possible cloud security failures in the form of data breaches.
From a client-access perspective, Azure can offer you an additional layer of security (ie: multi-factor authentication or conditional access) just a few clicks away. If you need more insight on your users’ behavior and sign-in patterns, you can use Azure’s audit and reporting features. Providing you even greater flexibility, Azure AD is available in different editions, which are charged differently depending on supported features.
If you are just starting to use Azure, remember that you don’t need to use all of its security features at once. The most important first step you’ll want to take is just performing proper permission planning and assigning roles.
2. Grant Role-Based Access Control
In the past, the older Azure infrastructure implementation—known as Azure Service Manager—didn’t offer much in terms of Azure resources delegation. You could simply choose between being a global administrator or not having administrative permissions at all. The new Azure infrastructure implementation, Azure Resource Manager, atomizes as many resources as possible, paving the way for more granular control over your resources on Azure. Its Role Based Access Control (RBAC) feature allows you to use predefined or custom roles in order to manage all, or some, of your Azure resources.
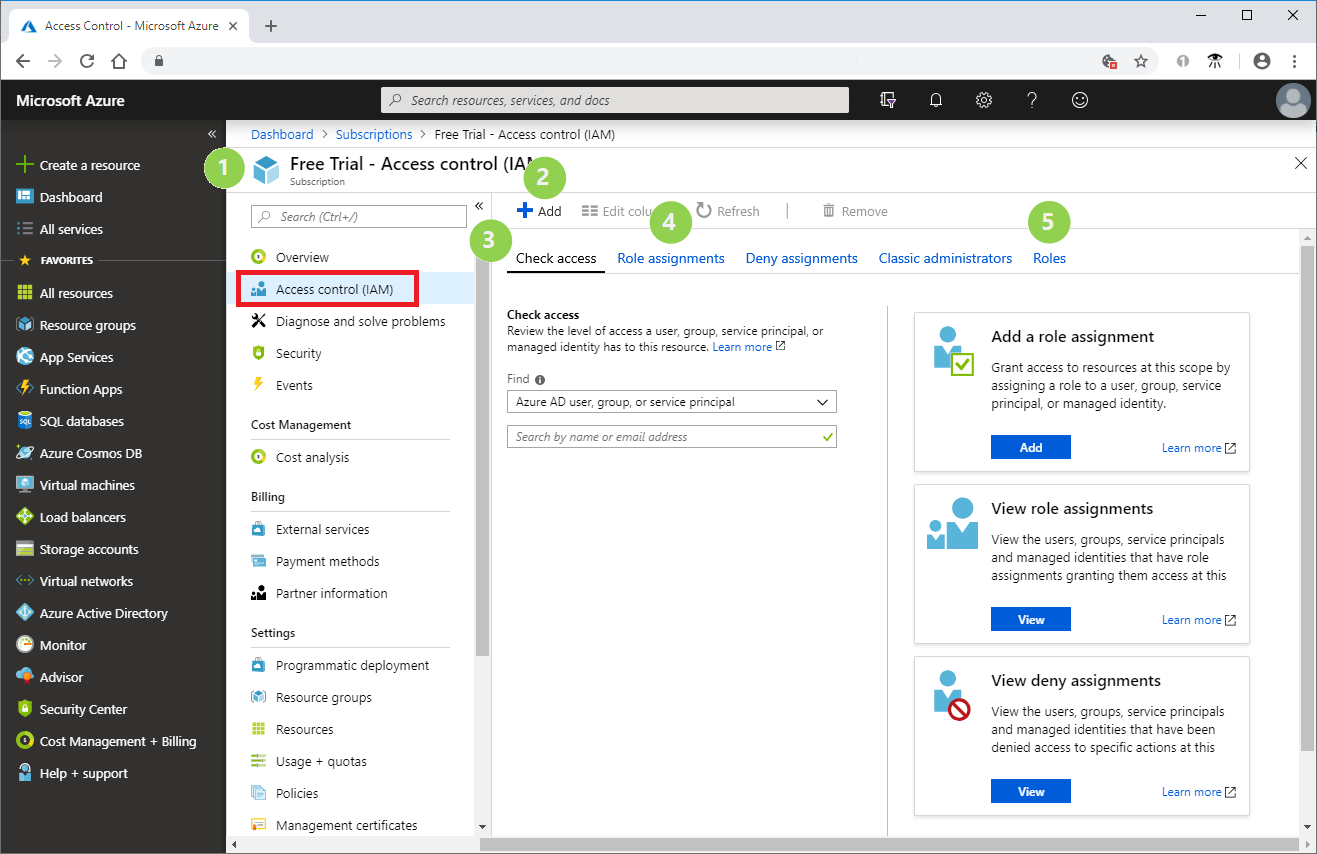
RBAC is based on Azure AD identities whereby you have the flexibility to assign permissions to identities from your Azure AD, another Azure AD, or even the Microsoft Live directory. Rather than just applying “Owner” to all users needing administrative access over Azure resources, you should invest your time in defining custom roles. By assigning controlled administrative access, you significantly reduce the risk of cloud security failures, and more specifically, unauthorized users taking unwanted actions by mistake.
However, pay close attention while defining your custom roles, as you will want to include all resource parameters. For instance, if you want to give someone administrative rights on your virtual machines, that role will also need storage and network permissions to be able to manage your Infrastructure as a Service (IaaS) efficiently.
3. Protect Your Network
Some users utilize Azure for specific workloads. Most try to get familiar with the platform by deploying Virtual Machines (VMs), Load Balancers or similar well-known services. In that case, Azure forces you to create an isolated local network, divided into subnets where your services are deployed—much like you would in a traditional IT environment. To protect access to your network resources, you can begin by first applying a Network Security Group (NSG), which basically represents an abstracted firewall with classic IP address and port rules.
When you create a Windows machine out of a template with default values, for example, it automatically creates an NSG containing only a “RDP allow” rule so that you can connect to your machine. If you need additional ports, or you want to close an existing one, you can edit an existing NSG or create a new one to meet your needs. You can assign a NSG to Virtual Network subnet or virtual machine network cards directly. Rules are processed in that order, so if you close a port on an NSG attached to a subnet and open it on one attached to a VM NIC, traffic will not flow. As with other security features, you will want to open ports in a controlled manner, instead of just allowing all ports because you find it boring to manage the firewall rules.
If you are using Azure IaaS for internal purposes only, and don’t require external publishing, go ahead and remove all public IP addresses from your machines. Then, use Point-To-Site VPN to connect from your workstation to Azure VNet. From here, you can use internal addresses for access. For local connectivity to Azure resources at a remote site, you should consider tunneling your traffic through Site-To-Site VPN or ExpressRoute. That way your resources will not be visible from the internet, drastically reducing your attack surface, and all communication from your endpoint to Azure will be in an encrypted tunnel.
4. Protect Your Storage
No matter which Azure service you are using, you will definitely work with Azure Storage now and again. As a result, a properly planned storage policy and separate storage accounts are important.
From a management point of view, you assign permission through RBAC. From a data access point-of-view, the situation is a little bit different. Azure Blob service is a type of storage that stores general data and you will use it for just about every Azure service you use. If you’re storing files on Blob that need to be accessible only by you or other Azure resources, you should define Blob as private. You should define Blob for your App Services data as public, easily delivered over the internet, without authentication, to your end users. Check whether your Blobs are public or private using the free BlobCheckr tool.
Permission to access and manipulate your data is still not supported with Azure AD, so if you are looking for easy to use, basic security, your applications will use a storage account key provided by Azure that gives you full control over storage resources. If you require more control over your resources on a data level, you should consider Azure Shared Access Signatures. This technology is based on tokens with defined allowable actions and an expiration time, without the need to expose a storage account key. This also applies to Azure File Storage, so if you plan to move your conventional file storage solution to Azure, don’t expect rich permission-wise features right away. You can also configure encryption at rest or require exclusive secure https or SMB 3.0 access by using encryption at transit to harden access to your information.
5. Take Advantage of Out-of-the-Box Features
In addition to the security features already mentioned, there are a number of other Azure features and services you can use to harden your cloud environment to avoid early cloud security failures. For instance, if you feel that the basic Azure firewall for your network and VMs is not enough to meet your needs, you can choose from a large number of Network Virtual Appliances. These virtual appliances can be configured as you would do on-premises.
Since one of the most used services on any cloud platform is Web Application service, often directly exposed to the internet, you should consider using out-of-the-box features like SSL Certificates or other easy to integrate Azure services like Azure Application Gateway. Additionally, there are a variety of Azure services that provide you with security insight and recommendations for your environment, like Operations Management Suite. Once your cloud environment is set up, you’d be wise to give them a chance.
Remain Guarded with your Cloud Security Strategy
Although security planning for your environment can be cumbersome, avoiding early cloud security failures is more important than ever, now that cyber-attacks are the modern weapon of choice against companies. Paying close attention to the key considerations discussed here and assigning security accordingly is a good first step. However, you’ll need to be careful with your security strategy. If it’s too lax, your environment won’t actually be secure. If it’s too tight, you’ll have rock-solid security but a low end-user experience, which is also extremely important. As an added step, you can also take a look at the suites Microsoft offers customers to integrate services easily, rather than using them in isolation. These suites will provide you with both advanced security insights and management of your Azure resources.
Schedule a demo to learn how CloudCheckr can help you address security concerns, or try a 14-day free trial.
Cloud Resources Delivered
Get free cloud resources delivered to your inbox. Sign up for our newsletter.
Cloud Resources Delivered
Subscribe to our newsletter